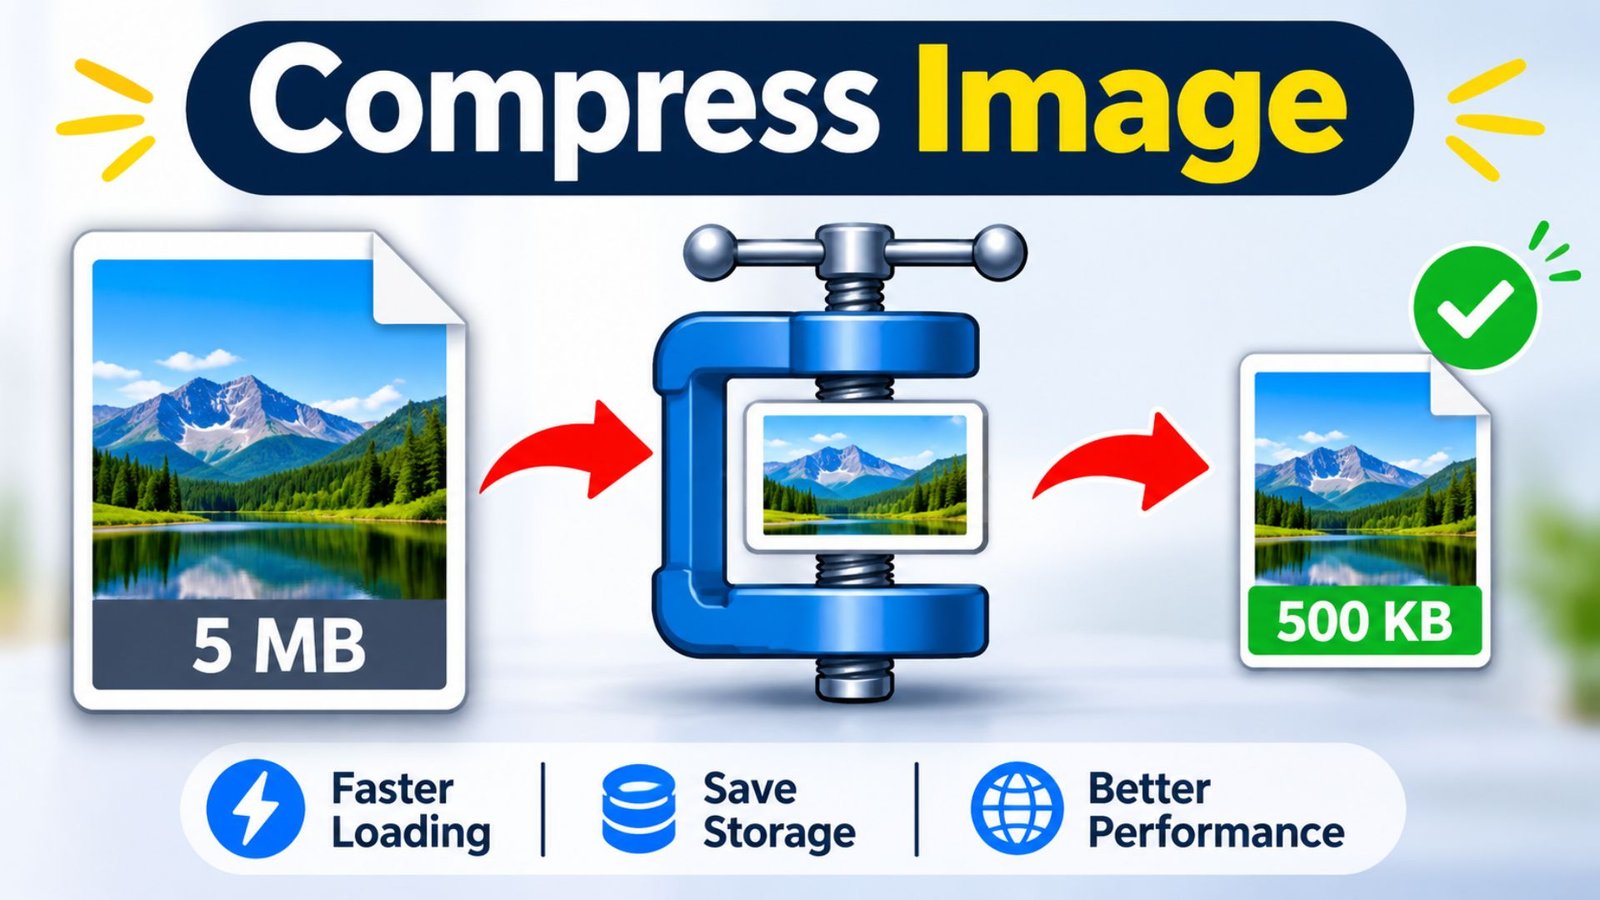
How to Compress Image Files Without Losing Quality
Large image files can create frustrating problems when uploading photos, sharing documents, or building a website. They consume storage, take longer to upload, and may slow down website pages. Fortunately, you do not need expensive software or advanced editing skills to solve this problem. When you compress image files using the right format and settings, you can reduce their size, meet upload requirements, and maintain excellent visual quality.
What Does It Mean to Compress Image Files?
Image compression is the process of reducing an image’s digital file size. It makes photographs, screenshots, graphics, and other visual files smaller without necessarily changing their visible dimensions.
When you compress image files, the software changes how image information is stored. Depending on the compression method, it may remove unnecessary data, simplify image information, or reorganize the existing data more efficiently.
For example, a photograph that originally occupies 5MB might become 800KB after optimization. The actual result depends on its dimensions, format, colors, and compression settings.
Image compression helps users:
- Upload photographs to websites and online forms.
- Share images through email and messaging applications.
- Save storage space on computers and smartphones.
- Improve website loading performance.
- Meet file-size restrictions.
- Manage large collections of digital photographs.
Why Should You Compress Image Size?
Large images are not always necessary for everyday digital tasks. A high-resolution photograph may look excellent, but uploading its original file can become inconvenient when a platform has strict size restrictions.
Reducing the file size makes everyday image management easier.
Here are the main benefits:
1. Faster Website Loading
Large photographs can increase webpage weight and slow down loading. Optimized images require fewer bytes to download, which can improve the experience for visitors using mobile networks or slower internet connections.
2. Save Storage Space
Image collections can occupy considerable storage, especially when they contain thousands of photographs. Smaller files help users keep more pictures on their devices without quickly filling available storage.
3. Easier File Sharing
Email services, online forms, and messaging platforms may restrict attachment sizes. Smaller images make it easier to send photographs without repeatedly encountering upload errors.
4. Meet Upload Requirements
Some websites require images below specific limits, such as 50KB, 100KB, 200KB, or 1MB. Compression helps prepare files for these requirements.
5. Better Website Performance
Website owners can reduce unnecessary image data and deliver appropriately sized visuals to visitors. Modern image formats and responsive image techniques can further improve performance.
How Does Image Compression Work?
Image compression generally uses two methods: lossy compression and lossless compression.
Understanding their differences helps you choose the right approach.
Lossy Compression
Lossy compression reduces file size by removing selected image information. It can produce significantly smaller files, particularly for photographs.
However, aggressive compression may create visible problems, including:
- Blurry details.
- Blocky areas.
- Color changes.
- Unclear edges.
- Reduced sharpness.
JPEG, WebP, and AVIF support lossy compression.
Lossless Compression
Lossless compression reduces file size without discarding the original image information.
The resulting image retains its original pixel information, although the amount of size reduction may be smaller than with lossy compression.
It is particularly useful for:
- Screenshots.
- Logos.
- Diagrams.
- Text-heavy graphics.
- Images requiring exact visual preservation.
PNG and certain WebP and AVIF encoding methods support lossless compression.
Lossy vs. Lossless Compression
| Feature | Lossy Compression | Lossless Compression |
|---|---|---|
| File size reduction | Usually greater | Often more limited |
| Image information | Some information removed | No image information lost |
| Visual quality | May decrease | Preserved |
| Best for | Photographs and web images | Screenshots, logos, diagrams |
| Common formats | JPEG, WebP, AVIF | PNG, WebP, AVIF |
| Recommended use | Smaller files | Exact image preservation |
How to Compress Image Online Free
Using an online tool is one of the easiest ways to reduce image file size. You do not need to install complicated software or understand advanced image editing settings.
Follow these simple steps:
- Open a trusted online image compression tool in your browser.
- Select the image you want to optimize.
- Upload the original file from your computer or smartphone.
- Choose an available compression setting.
- Adjust the quality level if the tool provides this option.
- Start the compression process.
- Preview the resulting image.
- Download the smaller file to your device.
- Check its dimensions, file size, and visual quality.
Many online tools support JPEG, PNG, and WebP files. However, available formats and size limits vary between services.
Helpful tip: Keep your original image until you have checked the compressed version. This allows you to try different settings without losing the original.
How to Compress Image Without Losing Quality
Maintaining image quality is important when preparing photographs for websites, professional documents, and social media.
Although every compression method has limitations, you can often achieve a smaller file without noticeable visual differences.
Use these techniques:
Choose the Correct Image Format
Different formats work better for different types of images.
- JPEG: Suitable for photographs and everyday pictures.
- PNG: Useful for transparent graphics, screenshots, and sharp details.
- WebP: Supports lossy and lossless compression and transparency.
- AVIF: Provides modern compression options for photographs and graphics.
- SVG: Suitable for scalable vector illustrations, icons, and logos.
WebP and AVIF can provide smaller files than traditional formats in many situations.
Reduce Unnecessary Dimensions
A photograph with dimensions of 5000 × 4000 pixels may be unnecessarily large for a small website thumbnail.
Resize the image to match its actual display requirements before compressing it.
Avoid Excessive Compression
Do not automatically select the lowest quality setting. Extremely aggressive compression can damage details and make photographs look unprofessional.
Try different settings and compare the results.
Preserve the Original File
Always keep a backup of important photographs, especially when working with business graphics, product photography, or professional designs.
Compare Before and After
Check the compressed image at its normal display size and zoom in on important details.
Look for:
- Clear edges.
- Natural colors.
- Readable text.
- Sharp subjects.
- Proper transparency.
How to Compress Image to 1MB, 200KB, 100KB, or 50KB
Many websites and online applications have specific image-size requirements. You may need to reduce a photograph to 1MB or prepare a smaller image for an application form.
The best compression settings depend on the original image. A large photograph generally needs more adjustments than a small screenshot.
Here is a practical comparison of common file-size targets.
| Target File Size | Suitable Uses | Recommended Approach |
|---|---|---|
| 1MB | Website photos, online submissions | Moderate compression and appropriate dimensions |
| 500KB | Product images, digital photographs | Resize and optimize JPEG or WebP |
| 200KB | Online profiles, document images | Reduce dimensions and adjust quality |
| 100KB | Application forms, small web graphics | Use smaller dimensions and efficient formats |
| 50KB | Thumbnails, small profile pictures | Use compact dimensions and careful compression |
How to Compress Image to 1MB
If your original photograph is 4MB or 5MB, start by resizing it to the dimensions required by the destination platform.
Then select an appropriate JPEG or WebP quality setting and check the resulting file size.
Repeat the process until the image meets the 1MB requirement while remaining clear.
How to Compress Image to 200KB
A 200KB limit works for many small digital photographs and online submissions.
To reach this target:
- Open your compression tool.
- Upload your original image.
- Reduce unnecessary image dimensions.
- Select JPEG or WebP when appropriate.
- Adjust the compression level.
- Download and check the final size.
How to Compress Image to 100KB
For a 100KB limit, you may need to reduce both the image dimensions and its quality setting.
Check that important details remain visible, particularly when uploading identification photographs or images containing text.
How to Compress Image to 50KB
A 50KB target is more restrictive and may not suit every photograph.
Use smaller dimensions, remove unnecessary metadata when appropriate, and choose an efficient format supported by the destination website.
Do not assume that every image can reach 50KB without visible quality loss.
Which Image Format Is Best for Compression?
Choosing the correct format can make a significant difference in the final file size.
Each format has its own advantages, so the best option depends on the image’s purpose.
| Format | Compression Type | Transparency | Best For |
|---|---|---|---|
| JPEG | Lossy | No | Photographs |
| PNG | Lossless | Yes | Screenshots and graphics |
| WebP | Lossy and lossless | Yes | Website images |
| AVIF | Lossy and lossless | Yes | Modern web photography and graphics |
| GIF | Lossless palette-based | Yes | Simple animations |
| SVG | Vector-based | Yes | Logos and illustrations |
For most website photographs, WebP or AVIF can be a useful choice. JPEG remains a practical option when broad compatibility is important.
For screenshots and text-heavy images, compare PNG with lossless WebP to avoid unwanted artifacts.
How to Compress Image for Website Performance
Website images contribute significantly to page weight. Large files can take longer to download, particularly on mobile devices.
Website owners should optimize images before uploading them to their content management systems.
Follow these practices:
1. Resize Images According to Display Requirements
Do not upload extremely large photographs when a smaller version can serve the same purpose.
For example, a 1200-pixel-wide image may be sufficient for many content areas, depending on the website layout and display requirements.
2. Use Modern Image Formats
Consider WebP and AVIF for supported browsers. These formats can provide effective compression while preserving useful visual details.
3. Implement Responsive Images
Use responsive image techniques so browsers can select an appropriate image size for different screens.
This prevents smaller devices from unnecessarily downloading oversized images.
4. Use Lazy Loading Carefully
Lazy loading allows images outside the initial viewing area to load when visitors approach them.
It can reduce initial page loading work. However, avoid delaying important above-the-fold images unnecessarily.
5. Add Descriptive Image Information
Use descriptive filenames and meaningful alternative text.
For example:
- Filename:
website-image-optimization.webp - Alt text:
Optimized website image displayed on a laptop screen
Google recommends descriptive image information and high-quality, properly optimized visuals.
6. Test Website Performance
After optimizing your images, check your pages with Google PageSpeed Insights.
Review image-related recommendations and identify files that still need resizing or compression.
How to Compress Image on iPhone
You can reduce image file sizes on an iPhone without using complicated editing software.
The best method depends on whether you want to compress an existing photograph or make future photographs smaller.
Method 1: Use an Online Image Compressor
- Open Safari on your iPhone.
- Visit a trusted image compression website.
- Select the upload option.
- Choose a photograph from your Photos library.
- Adjust the compression settings if available.
- Process the image.
- Download the compressed version.
- Save it to your Photos or Files application.
Method 2: Resize an Image
You can use an image editing application that supports custom dimensions.
Reduce the width and height according to your intended use, then export the image in a suitable format.
Method 3: Use Shortcuts
Apple’s Shortcuts application can help automate image-processing tasks.
You can create a shortcut that receives a photo, resizes it, and saves the resulting image. Available actions depend on the installed iOS version.
Method 4: Change Future Camera Settings
To reduce the size of future photographs, review your iPhone camera formats and available capture settings.
Apple provides options such as High Efficiency and Most Compatible under camera settings on supported devices.
Remember that changing camera settings does not automatically compress photographs that already exist in your library.
How to Compress Image on Windows and Mac
Desktop computers provide several convenient ways to reduce image file sizes.
Windows
Windows users can use built-in applications or compatible image editing software.
Using Paint:
- Open the image in Microsoft Paint.
- Select Resize.
- Enter smaller dimensions if necessary.
- Maintain the aspect ratio to avoid distortion.
- Choose Save As.
- Select JPEG or another suitable format.
- Save the optimized image.
Paint’s available export options depend on the installed version.
Mac
Mac users can use Preview to resize and export supported images.
Follow these steps:
- Open the photograph in Preview.
- Select Tools.
- Choose Adjust Size.
- Enter the required width and height.
- Keep the proportions linked.
- Select File and Export.
- Choose an appropriate format.
- Adjust the quality slider when available.
- Save the resulting image.
Always compare the exported file with the original before replacing it.
How to Compress Image Using Adobe Express
Adobe Express offers image editing and resizing tools that can help prepare photographs for different digital uses.
Its resize feature supports formats such as JPEG, PNG, WebP, and HEIC.
To prepare an image using Adobe Express:
- Open Adobe Express.
- Access Quick Actions.
- Select Resize Image.
- Upload your photograph.
- Choose a suitable preset or enter custom dimensions.
- Review the resized image.
- Download the resulting file.
Important: Resizing and compression are related but different processes. Changing image dimensions may reduce file size, but it does not guarantee a particular KB or MB target. Check the downloaded file size before submitting it.
Common Mistakes to Avoid When Compressing Images
Reducing image size should not come at the expense of usability.
Avoid these common mistakes:
- Compressing too aggressively: Excessive compression creates blurry images and visible artifacts.
- Ignoring image dimensions: A large image may remain unnecessarily heavy even after changing its format.
- Choosing the wrong format: JPEG is not always the best choice for screenshots or transparent graphics.
- Overwriting original files: Keep backups so you can recover the original quality.
- Ignoring transparency: Converting transparent PNG graphics to JPEG removes transparency.
- Using untrusted websites: Avoid uploading confidential photographs to unfamiliar services.
- Ignoring the final file size: Always verify that the output meets the required upload limit.
- Forgetting mobile optimization: Website images should work well on smaller screens.
Is It Safe to Compress Image Files Online?
Online compression services can be convenient, but users should consider privacy before uploading files.
A regular photograph may be suitable for an online tool, while confidential business documents or personal identification images require additional care.
Before choosing a service:
- Read its privacy policy.
- Check whether uploaded files are stored.
- Review its file deletion policy.
- Avoid uploading sensitive photographs to unknown websites.
- Prefer trusted software or offline tools for confidential content.
For sensitive images, local applications can offer greater control because you do not need to upload the original file to an external service.
Best Practices for Getting Smaller Images Without Quality Problems
A good compression process balances file size, visual appearance, and compatibility.
Use this practical checklist whenever you prepare images:
- Select the correct format for the image.
- Remove unnecessary dimensions.
- Start with moderate compression.
- Preserve transparency when needed.
- Compare the original and optimized versions.
- Keep a backup of important images.
- Check the final file size.
- Use responsive versions for websites.
- Test images on mobile and desktop screens.
- Protect confidential photographs and documents.
Following these steps makes image optimization easier and helps you avoid unnecessary quality problems.
Frequently Asked Questions About Compressing Images
1. How do I compress image files for free?
You can use a free online image compression service or desktop software. Upload your photograph, select a compression setting, process the file, and download the smaller version. Check the final image quality before using it.
2. How can I compress image without losing quality?
Choose lossless compression whenever preserving every original pixel is essential. You can also resize images carefully and use efficient formats such as WebP. Lossy compression may reduce file size further, but it can remove image information.
3. How do I compress image to 50KB or 100KB?
Upload your image to a compression tool, reduce its dimensions, and adjust the quality settings. Continue testing until the file reaches your target. Very small limits may require noticeable quality compromises.
4. Which format is best for image compression?
WebP and AVIF are effective modern options for many website images. JPEG works well for photographs, while PNG is useful for graphics and screenshots requiring transparency or sharp details. The best choice depends on the image and its intended use.
5. Can I compress image files on my iPhone?
Yes. You can use a compatible online tool, image editing application, or Apple Shortcuts to resize and process photographs. Save the resulting file and check its size before sharing or uploading it.
6. Does compressing images improve website SEO?
Image optimization can support better website performance by reducing the amount of data browsers download. It can contribute to a better user experience and help improve loading performance. However, compression alone does not guarantee higher Google rankings. Relevant content, descriptive alt text, responsive images, and overall page quality also matter.
Conclusion
Learning how to reduce image file sizes makes uploading, sharing, storing, and managing photographs much easier. The right format, dimensions, and compression settings can help you create smaller files while maintaining the visual quality your project requires.
Whether you need a 50KB profile picture, a 1MB photograph, or optimized website graphics, always check the final result before using it. Start with moderate compression, compare the image with its original version, and choose settings that meet your requirements.
Ready to make your images smaller? Choose a photograph, apply the right compression settings, and enjoy easier uploads and more efficient image management.